DODAJ
Wiadomości
Sport
Pogoda
Ogłoszenia
Imprezy
Rykowisko
Sondy
Archiwum
Telefony alarmowe
Powiadom redakcję
Dodaj film, zdjęcia
Dodaj imprezę
Dodaj ogłoszenie
Dodaj artykuł
w dziale Rykowisko
Informacje z Regionu:
Jelenia Góra
Karpacz
Kowary
Piechowice
Szklarska Poręba
Janowice Wielkie
Jeżów Sudecki
Mysłakowice
Podgórzyn
Stara Kamienica
Dolny Śląsk
Karkonosze
Sobieszów
Kamienna Góra
Cieplice
Barcinek
Radomierz
Marciszów
Sosnówka
Jawor
Kaczorów
Kromnów
Krzeszów
Łomnica
Lubań
Lwówek Śląski
Miedzianka
Miłków
Mirsk
Olszyna
Wojcieszyce
Polub Jelonkę:
Czytaj także:
Wałbrzych
Świdnica
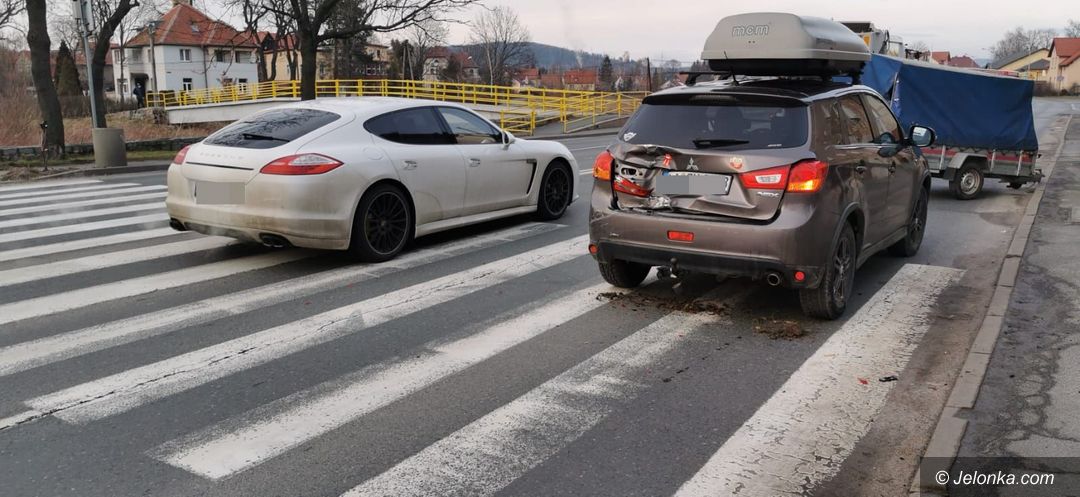
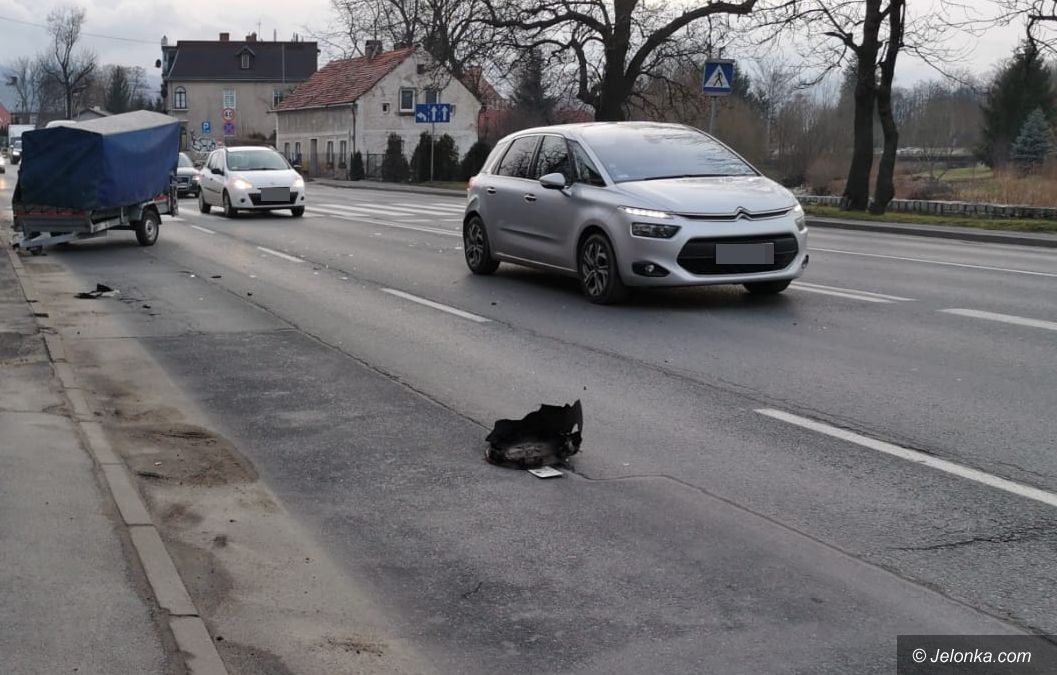
Kolizja na Wolności
- fotografie
Strona 2 z 3
Fot. AT
Fot. AT
Fot. AT
Następna strona >
< Poprzednia strona
< Powrót do artykułu
Więcej fotogalerii
Jelonka.com
Portal miasta Jeleniej Góry
i Kotliny Jeleniogórskiej
Strona główna
Wiadomości
Sport
Pogoda
Ogłoszenia
Dodaj ogłoszenie
Imprezy
Dodaj swoją imprezę
Fotogalerie
Rykowisko
Sondy
Archiwum
Gazeta
Regulamin wypowiedzi
Polityka prywatności
Redakcja
Reklama
Cennik reklam
Telefony alarmowe
Nasz Facebook
Logo
Portale regionalne
Jelenia Góra: Jelonka.com
Wałbrzych: Wałbrzyszek.com
Świdnica: Świdniczka.com
Copyright © 2002-2024
Highlander's Group